Residential Solar Installation Audit: A Step-by-Step Guide
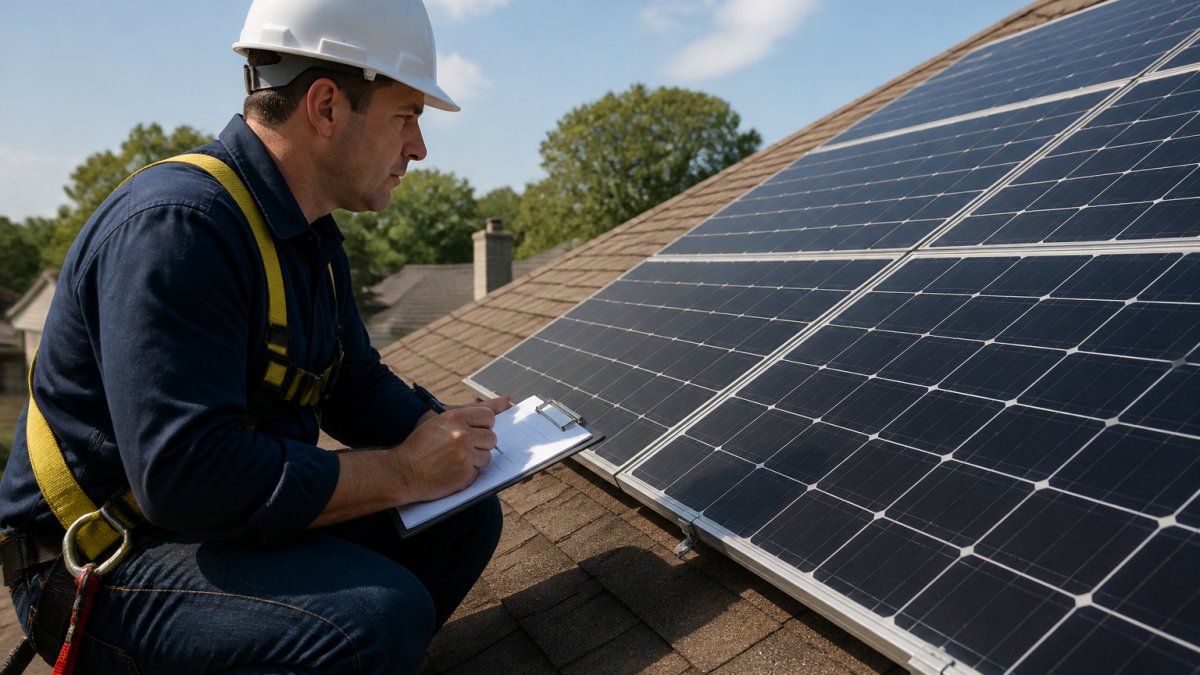
Table of Contents
- What a Residential Solar Installation Audit Involves
- Pre-Installation Site Assessment and Roof Evaluation
- Solar Installation Inspection Checklist: What Gets Verified
- Post-Installation Inspection and System Commissioning Checklist
- Building Code, Electrical Code, and Safety Code Compliance
- How Long Does a Solar Inspection Duration Typically Take?
- Home Energy Audit Before Solar Installation
- What Happens When an Audit Finds Defects
- Frequently Asked Questions
Last Updated: October 17, 2026
What a Residential Solar Installation Audit Involves
A residential solar installation audit is a comprehensive evaluation of your solar system's design, installation quality, and safety compliance.
The audit examines three main areas: the physical installation (panels, mounts, wiring), the electrical systems (inverters, grounding, connections), and compliance with local building and electrical codes.
Go Solar DMV helps homeowners navigate this process by explaining what auditors look for and why each check matters. Understanding the residential solar installation audit process upfront prevents costly surprises.
Pre-Installation Site Assessment and Roof Evaluation
Before panels go on your roof, a site assessment determines whether your property is suitable for solar. The auditor evaluates roof condition, orientation, shading patterns, and structural capacity to support the system weight.
Key assessment steps include:
- Roof inspection: Age, material, condition, and remaining lifespan. Most solar systems last 25 years, so your roof should support that timeline.
- Orientation and tilt: Panels facing south generate the most energy in most locations. East and west-facing roofs work but produce less.
- Shading analysis: Trees, buildings, and chimneys block sunlight. Auditors map shadows throughout the day and year to identify problem areas.
A thorough pre-installation site assessment prevents delays and ensures the design matches your property's real-world conditions. If the roof is too old or shaded, the auditor flags it before work begins.
Solar Installation Inspection Checklist: What Gets Verified
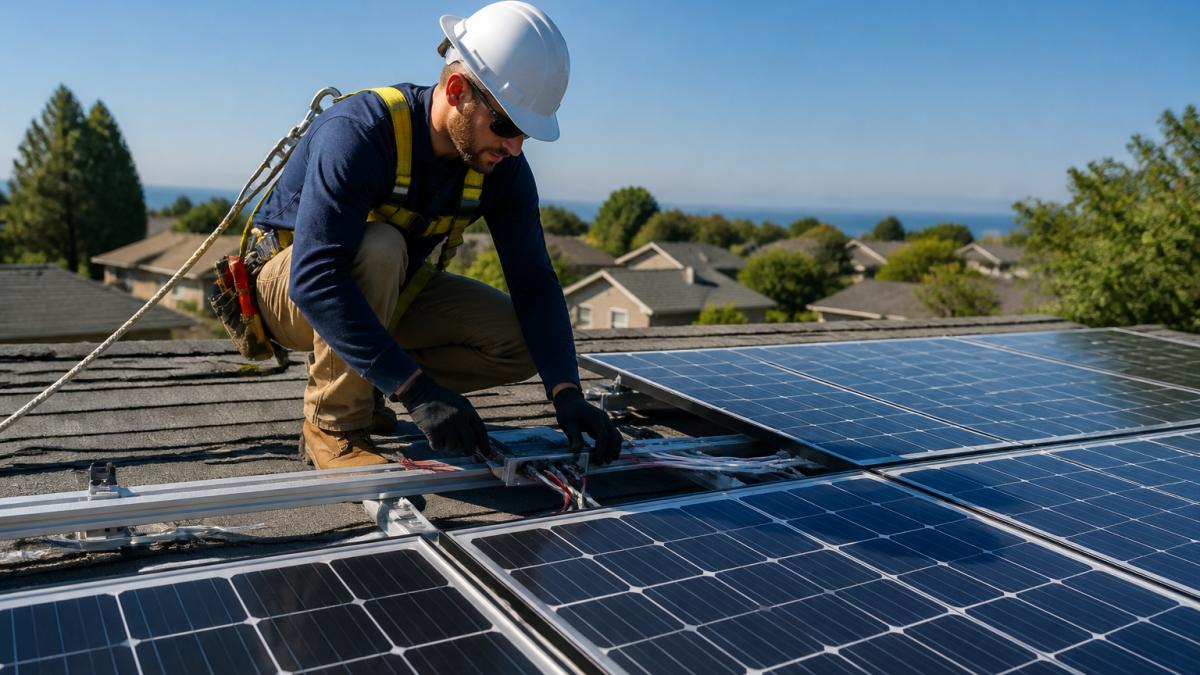
Once installation is complete, the inspection verifies that every component meets code and functions correctly, this is where the residential solar installation audit process becomes detailed and technical. Use the checklist below as a homeowner reference; knowing what an inspector looks for helps you review the report and ask better questions.
Mounting System and Structural Integrity
The mounting system holds panels securely to your roof. Inspectors verify that bolts are tight, flashing prevents leaks, and the frame handles wind and snow loads.
Common checks include:
- Bolt torque: Inspectors spot-check torque on mounting hardware against the manufacturer's specification. Loose bolts are a leading cause of panel movement and roof damage.
- Flashing integrity: Every roof penetration should be sealed with flashing rated for the roof material (composition shingle, tile, metal, or membrane). Missing or improperly layered flashing is a common leak source.
- Rail spacing and standoff height: Rails must sit at the manufacturer's specified height above the roof surface to allow airflow and drainage.
Electrical Wiring, Grounding, and Inverter Connections
Inspectors trace wiring from the panels through the combiner box, to the inverter, and finally to your home's main electrical panel.
They verify that:
- Conductor sizing and ampacity: Wiring is sized for the current it carries, including any continuous-load derating required by code.
- Connector and termination quality: MC4 and other connectors are fully seated, matched by brand where required, and protected from weather. Loose terminations are a fire risk.
- Grounding and bonding: Equipment grounding conductors, grounding electrode connections, and bonding of array frames and racking are continuous and correctly sized. Ground-fault protection for the PV array is functional.
- Rapid shutdown: A rapid shutdown system is installed and labeled per NEC requirements so first responders can de-energize the array at the service point.
Labeling, Documentation, and Report Evidence
A thorough inspection produces a paper trail. Ask for:
- Placards and warning labels required by NEC Article 690, including the main service panel, inverter, and disconnect locations.
- As-built drawings showing the final array layout, string configuration, and equipment locations.
- Equipment datasheets and listing marks confirming panels, inverters, and racking are listed to the applicable UL standards.
- Photographs of roof penetrations, grounding connections, torque marks, and label placement.
You do not need to climb on the roof. Ask the auditor for the photo set and the as-built drawing, then compare the array layout and equipment model numbers against your signed contract. Mismatches are one of the most common findings.
What Inspectors Commonly Flag
Residential audits typically flag a cluster of small, correctable issues rather than major failures: missing or faded labels, unterminated or mismatched connectors, incomplete grounding bonds on racking, conduit supports spaced too far apart, and inverter settings left at factory defaults instead of the utility's grid profile.
Poor electrical connections cause fires or system failures, and proper grounding protects your home from electrical hazards. A checklist-driven inspection separates a system that passes on the first try from one that stalls at utility approval.
Post-Installation Inspection and System Commissioning Checklist
After the installer completes the work, a final inspection confirms the system is ready for operation by testing electrical circuits, verifying inverter settings, and confirming utility approval.
Post-installation checks include:
- Electrical testing: Inspectors use meters to verify voltage, current, and ground resistance. All readings must fall within safe ranges.
- Inverter configuration: The inverter must be programmed for your utility's interconnection rules (especially important for net metering in Maryland and Virginia, where rules differ).
- System startup: A test run confirms the inverter detects sunlight and begins converting DC power to AC power.
- Documentation: Inspection reports, permits, and interconnection paperwork are finalized.
Building Code, Electrical Code, and Safety Code Compliance
Your solar installation must comply with the National Electrical Code (NEC), local building codes, and utility interconnection standards, which protect your home and neighborhood from electrical hazards and fire risk.
Inspectors verify compliance with:
- NEC Article 690: Covers solar photovoltaic systems, wiring methods, overcurrent protection, and disconnects.
- Local building codes: Roof load limits, setbacks from edges, and structural requirements vary by jurisdiction.
- Utility interconnection standards: Each utility has rules about how your system connects to the grid. Net metering policies in Virginia and Maryland differ significantly, affecting how your savings are calculated.
Code violations can prevent utility approval, void warranties, or create safety hazards. A proper audit confirms your installation meets all requirements before the utility energizes it.
How Long Does a Solar Inspection Duration Typically Take?
A typical residential solar installation audit takes between 2 to 4 hours, depending on system size and property complexity. Larger systems or properties with multiple roof sections take longer.
Timeline breakdown:
- Pre-installation assessment: 1-2 hours (site visit, measurements, shading analysis)
- Post-installation inspection: 2-3 hours (electrical testing, visual checks, documentation)
- Report generation: 1-2 weeks (auditor compiles findings and delivers written report)
The inspection duration includes travel time, roof checks, electrical testing with meters, and document review; weather and roof access can extend it. Most homeowners wait 1-2 weeks after installation before the final inspection is scheduled.
Home Energy Audit Before Solar Installation
A home energy audit is different from a solar installation audit. An energy audit evaluates your home's overall energy use, identifying efficiency improvements that reduce electricity demand before you install solar.
Key differences:
| Audit Type | Purpose | Scope | Timing |
|---|---|---|---|
| Home energy audit | Identify efficiency upgrades | Insulation, HVAC, appliances, windows | Before solar (optional) |
| Solar site assessment | Evaluate solar suitability | Roof, shading, structural capacity | Before installation |
| Solar installation audit | Verify installation quality | Electrical, mounting, code compliance | After installation |
Many homeowners benefit from a home energy audit first. Improving insulation, sealing air leaks, or upgrading appliances reduces your electricity bill and means you need a smaller (cheaper) solar system.
What Happens When an Audit Finds Defects
If an inspection uncovers problems, the installer must fix them before the utility approves the system. Common defects include loose electrical connections, improper grounding, code violations, or structural issues. What most guides skip is the practical remediation workflow, who documents what, how to communicate with the contractor, and what to do if the installer disagrees.
Step 1: Get the Finding in Writing
A verbal "we'll fix it" is not enough. Ask the auditor for a written report covering, for each defect:
- Location (roof section, string number, disconnect, or panel circuit)
- Description of the condition observed
- Code or manufacturer reference cited (for example, NEC Article 690 section, or the racking manufacturer's installation manual)
- Photograph of the condition
A report without photos and code references is hard to enforce. If the auditor cannot cite a code section or manufacturer instruction, ask them to explain the basis for the finding.
Step 2: Notify the Installer in Writing
Send the report to the installer by email and request a written response with a repair scope and target date. Keep the thread, and reference your workmanship warranty if you have one. Most installer contracts require written notice of defects and a reasonable opportunity to cure before any other remedy is available.
Do not authorize a third party to modify the system before the original installer has responded in writing. Doing so can void the workmanship warranty and shift responsibility for the defect to you.
Step 3: Agree on the Repair Scope
For each finding, confirm:
- Who performs the repair, the original installer, a subcontractor, or a specialist electrician
- What parts are replaced versus reworked
- Whether the repair requires a revised permit or plan review (common when conduit routing or equipment locations change)
- Whether the repair affects the utility interconnection application
Minor defects such as loose bolts, missing labels, or conduit support spacing typically take days to fix. Serious problems like improper grounding, undersized conductors, or structural attachment failures may require design changes, a new permit, and weeks of work.
Step 4: Reinspection and Documentation
After repairs, request:
- Photos of the corrected work at the same locations shown in the original report
- Updated test readings where the original finding involved electrical measurements
- A reinspection report confirming each finding is closed
If the authority having jurisdiction requires a reinspection, confirm who schedules it and who pays. Many jurisdictions charge a reinspection fee when the first inspection fails; whether it passes to the homeowner depends on the contract, so review your agreement before the first inspection.
Step 5: Escalation If the Installer Does Not Respond
If the installer is unresponsive or disputes the findings, common escalation paths include:
- Manufacturer warranty channels for equipment-specific defects (inverter faults, panel damage, racking failures)
- The state or local licensing board that issued the contractor's license
- The consumer protection division of your state attorney general's office
- The authority having jurisdiction that issued the permit, which can require correction before final sign-off
Warranty and Cost Notes
Workmanship warranties on residential solar typically run one to ten years depending on the installer, while equipment warranties run 12 to 25 years for panels and 5 to 12 years for inverters.
The audit process protects your investment by catching problems early, when they are cheaper and easier to fix. The remediation workflow above turns a finding into a closed item, and protects your warranty if the same issue resurfaces.
Frequently Asked Questions
What does a residential solar installation audit consist of?
A residential solar installation audit examines your roof condition, roof orientation, structural integrity, mounting system installation, electrical wiring and grounding, inverter compatibility, equipment performance, and code compliance. The audit includes pre-installation site assessment, post-installation inspection, and verification that your system meets building codes, electrical codes, and safety codes. Inspectors verify that all components are properly installed, grounded, and safe before your system receives permission to operate from local authorities.
Do I need a home energy audit before installing solar panels?
A home energy audit before solar identifies energy waste and helps determine the right system size for your needs. It evaluates insulation, HVAC efficiency, appliance performance, and usage patterns. This audit informs your solar design so you don't oversize or undersize your system. Many installers recommend a basic energy assessment, though it is not always mandatory. Understanding your baseline consumption helps you set realistic savings expectations and ensures your solar investment aligns with your actual electricity needs.
How long does a solar inspection usually take?
A typical solar inspection duration ranges from 2 to 4 hours, depending on system size and roof complexity. Pre-installation assessments may take 1 to 2 hours. Post-installation inspections usually require 2 to 3 hours to verify all connections, mounting, electrical work, and system performance. The inspection timeline also depends on whether the inspector must check multiple roof sections, verify grounding systems, test inverter connections, or document any installation defects. Local government inspections may add additional time to the overall project timeline.
What happens if a solar system fails its final inspection?
If your solar system fails final inspection, the installer must correct the defects identified in the inspection report. Common issues include improper grounding, electrical code violations, mounting system problems, or inverter compatibility issues. The installer provides corrective actions and a timeline for repairs. Once defects are fixed, a reinspection occurs at no extra cost to you. Only after passing reinspection does your system receive permission to operate and approval from your utility company. This process protects your safety and system performance.